Cross Leg Yoga Pose: 6 Poses, Benefits and StepsOur Yoga Blogs
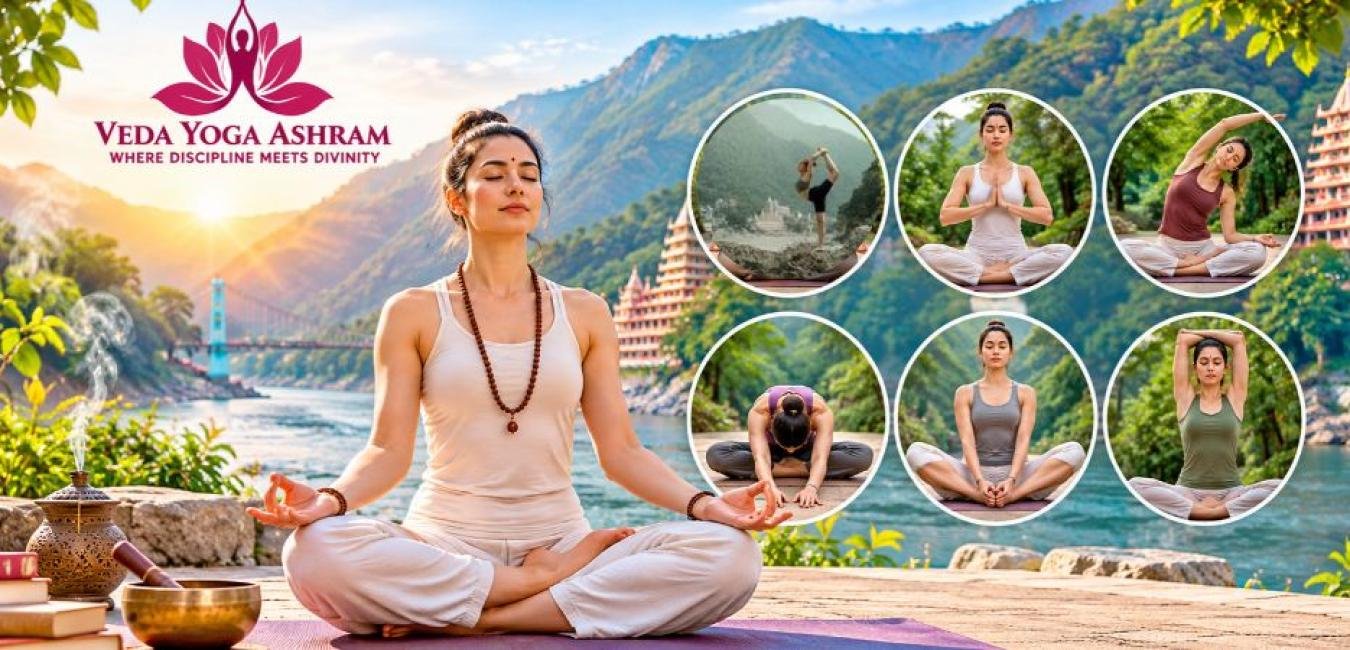
Sitting comfortably on the floor is a part of many yoga and meditation practices. However keeping a spine, relaxed shoulders and comfortable hips can take practice, especially for people who spend long hours sitting in chairs.
A cross leg yoga pose can provide a seated position for breathing exercises, meditation and gentle mobility work. Depending on the variation, it may also stretch the hips, thighs and ankles while encouraging awareness of posture.
Several types of sitting poses are practiced in traditional yoga, ranging from simple Sukhasana to more challenging Padmasana. Being aware of the distinctions between them will enable you to find the most suitable pose for you without any strain on your joints.
Table of Contents
- What is a Cross-Legged Yoga Pose?
- 6 Cross-Legged Yoga Poses and Their Benefits
- 1. Sukhasana (Easy Pose)
- 2. Padmasana (Lotus Pose)
- 3. Ardha Padmasana (Half Lotus Pose)
- 4. Siddhasana (Accomplished Pose)
- 5. Swastikasana (Auspicious Pose)
- 6. Agnistambhasana (Fire Log Pose)
- Benefits of Sitting Cross-Legged
- 1. Supports Better Postural Awareness
- 2. Provides a Stable Base for Meditation
- 3. Encourages Gentle Hip Mobility
- 4. Supports Breathwork
- 5. Develops Patience and Body Awareness
- How to Maintain a Comfortable Cross-Legged Yoga Position?
- Who Should Modify or Avoid Cross-Legged Sitting?
- Final Thoughts
What is a Cross-Legged Yoga Pose?
A cross‑legged seated posture means sitting on the floor with the legs folded or crossed in front of the body. The hands may rest on the knees or thighs while the spine remains comfortably upright.
These positions are commonly used for pranayama, meditation, chanting and yoga philosophy practice. The Ministry of AYUSH's Common Yoga Protocol includes seated postures such as Sukhasana and Padmasana among its yoga practices.
Not every seated variation has the same level of difficulty. Sukhasana is generally accessible to beginners, whereas full Lotus Pose requires hip mobility and should never be forced.
The best position is one in which you can breathe naturally maintain a posture and remain attentive without experiencing pain.
6 Cross-Legged Yoga Poses and Their Benefits
Different variations provide levels of flexibility, stability and physical challenge. The following six options range from meditation seats to more demanding hip‑opening postures.
1. Sukhasana (Easy Pose)
Sukhasana is one of the accessible options for people learning to sit comfortably during yoga or meditation. Sukhasana involves crossing the legs in front of the body rather than placing them high on the opposite thighs.
How to practise Sukhasana:
- Sit on a yoga mat with your legs extended in front of you.
- Bend your knees. Cross your shins comfortably.
- Allow your knees to lower naturally without pushing them toward the floor.
- Keep your hands on the thighs or the knees.
- Lengthen your spine and relax your shoulders. Breathe normally.
Benefits of Sukhasana:
- Provides a base for meditation and pranayama.
- Encourages a sitting posture.
- Helps develop awareness of breathing.
- Offers a position for gradually adapting to floor sitting.
Precautions: If your knees remain high or your back rounds, sit on a folded blanket or cushion for support. A chair is also an alternative when floor sitting is uncomfortable.
2. Padmasana (Lotus Pose)
Padmasana is a meditative posture in which each foot rests on the opposite thigh. Padmasana creates a stable seat when the practitioner has sufficient hip mobility.
It is not necessary to master Padmasana to meditate successfully. Forcing the legs into Padmasana can place stress on the knees and ankles.
How to practise Padmasana:
- Sit with your legs extended and your spine upright.
- Bend one knee. Gently bring the foot toward the opposite thigh only if the movement is comfortable.
- If your hip mobility permits, repeat with the foot on the opposite thigh.
- Rest your hands on your knees.
- Maintain breathing without forcing your knees downward.
Benefits of Padmasana:
- I provide a position, for meditation.
- Encourages a posture when comfortable.
- Increases body awareness and concentration in breathing exercises.
- Fosters the growth of patience and controlled motion.
Precautions: Avoid Padmasana if you have knee, hip or ankle pain or a relevant injury. Do not pull your feet onto your thighs using your hands. Choose Sukhasana or Half Lotus instead when appropriate.
3. Ardha Padmasana (Half Lotus Pose)
Ardha Padmasana is a variation of Padmasana in which one foot rests on the thigh while the other remains below the knee. As someone who has attempted Padmasana I find that Ardha Padmasana provides an alternative, for practitioners who cannot comfortably perform the posture.
How to practise Ardha Padmasana:
- Begin in a seated position.
- Bend one knee. Bring that foot toward the opposite thigh, provided your hip moves comfortably.
- Keep the foot resting beneath the opposite leg.
- Place your hands on your knees or thighs.
- Sit tall. Breathe slowly.
Repeat with the leg on the next attempt or session to avoid habitually favouring one side.
Benefits of Ardha Padmasana:
- Provides an alternative to Lotus Pose.
- Supports a position for meditation.
- Encourages awareness of hip mobility.
- Helps practitioners explore an involved seated posture gradually.
Precautions: If you experience pressure or pain in the knee, release the position immediately. A relaxed cross‑legged seat is preferable to a forced Half Lotus.
4. Siddhasana (Accomplished Pose)
Siddhasana is a seated posture described in classical yoga practice. Siddhasana places the heels close to the region, and the legs are arranged to create a stable meditative seat. The exact placement differs from the crossing of the shins in Sukhasana, so learners may benefit from guided instruction.
How to practise Siddhasana:
- Sit with your legs extended.
- Bend one knee. Bring that heel toward the pelvic region using only a comfortable range of motion.
- Fold the leg and place its heel above or near the first following instruction appropriate to your tradition and body.
- Keep your spine upright.
- Rest your hands on your knees. Breathe naturally.
Benefits of Siddhasana:
- Provides a position for meditation and pranayama.
- Encourages posture and bodily stillness.
- Develops awareness of breathing.
- Offers an alternative to Lotus Pose for some practitioners.
Precautions: Avoid forcing the heels into position. Those with knee, hip, ankle or pelvic discomfort should use a seated variation or seek guidance.
5. Swastikasana (Auspicious Pose)
Swastikasana is a classic cross‑legged sitting pose that many yoga schools use for meditation and breathing. In Swastikasana the legs are folded so that the feet lie tucked between the thighs and calves, following the method taught. Swastikasana differs a little from the shin‑crossing style of Sukhasana. I felt calm when practicing Swastikasana.
How to practise Swastikasana:
- First sit with both legs ahead.
- Then bend one leg.Bring the foot toward the gap between the opposite thigh and calf.
- Next, fold the leg in a similar way.
- Sit evenly on both sitting bones. Make the spine long.
- Place the hands on the knees. Keep breathing calm. When I practice Swastikasana, I feel the body settle into a rhythm.
Benefits of Swastikasana:
- Swastikasana gives another choice for meditation.
- Swastikasana encourages a upright position when comfortable.
- Swastikasana helps develop knowledge of body positioning.
- Swastikasana enables students to practice other seated poses other than Sukhasana. I notice Swastikasana helps me stay present during sessions.
Precautions: Swastikasana should not create knee twisting or ankle pain. If the legs feel compressed, return to a seat. I always watch for knee twisting in Swastikasana.
6. Agnistambhasana (Fire Log Pose)
Agnistambhasana is a more demanding hip‑opening pose also known as Fire Log Pose. In Agnistambhasana the shins are placed about one above the other with ankles to the opposite knees.
Agnistambhasana is not a simple meditation seat; it needs more hip mobility and may not suit everyone. I first learned Agnistambhasana in a workshop. Felt the hips stretch deeply.
How to practise Agnistambhasana:
- Begin by sitting with the legs fully extended and the back upright.
- Bend one knee. Bring the shin in front.
- Then place the shin above the first only as far as the hips allow.
- Flex the feet gently. Keep the spine long.
- Stay upright at first; a forward fold is optional. It should be tried only if comfortable. When I sit in Agnistambhasana, I feel the hips open gradually.
Benefits of Agnistambhasana:
- Agnistambhasana stretches the hip and gluteal region.
- Agnistambhasana encourages awareness of hip mobility.
- Agnistambhasana can complement a broader flexibility routine.
- Agnistambhasana develops patience and control during practice. I feel Agnistambhasana stretches my hips more than I expected.
Precautions: Do not force the shins into a stacked position, in Agnistambhasana. If the knees are high, the hips feel pinched, or the knees hurt choose Sukhasana or another comfortable alternative. I always avoid forcing my shins in Agnistambhasana.
Benefits of Sitting Cross-Legged
A comfortable seated position can be useful beyond formal yoga classes. The main advantages depend on the variation, your mobility, and how long you remain seated.
1. Supports Better Postural Awareness
Sitting on the floor with an upright torso gives you the chance to see the spine, pelvis and shoulders. If you have a tendency to tip your pelvis, a cushion under your hips will help make this position more comfortable.
2. Provides a Stable Base for Meditation
Balanced seat means less need to adjust yourself all the time during meditation. This allows you to concentrate on your breath, a mantra or the chosen point of focus.
3. Encourages Gentle Hip Mobility
Some cross-legged positions move the hips into flexion and external rotation. Practising a suitable variation can help you explore that range of motion, provided you do not force the knees toward the floor.
4. Supports Breathwork
An upright and comfortable seated posture can make it easier to maintain breathing during pranayama. The important factor is avoiding unnecessary tension in the abdomen, shoulders and neck.
5. Develops Patience and Body Awareness
You can have a posture, but be aware of your breathing, which can contribute to stillness and focus. These qualities are useful during both yoga and everyday relaxation practices.
The benefits of sitting cross‑legged should not be overstated: sitting this way does not automatically improve circulation cure back pain or provide the benefits for every individual. Comfort, appropriate positioning and regular movement remain important.
How to Maintain a Comfortable Cross-Legged Yoga Position?
- Lift Your Hips: Sit on a folded blanket or firm cushion so your pelvis can tilt easily.
- Relax your knees: Let them fall naturally. Do not press them down with your hand.
- Sit up straight with a long spine, but don't make the back stiff.
- Lower your shoulders: Your shoulders should not be up to your ears. Let your hands drop
freely. - Leg placement: Alternate front shins using cross-legged seating.
- Take breaks: Uncross your legs and move gently from time to time before returning to the posture.
If sitting on the floor is still uncomfortable, a chair can offer a readily available alternative for meditation and pranayama.
Who Should Modify or Avoid Cross-Legged Sitting?
People with recent knee, hip, or ankle injuries; significant joint pain; or limited mobility may need modifications. Deep hip rotation can be especially uncomfortable for some individuals, so full Lotus and stacked-shin variations should be approached cautiously.
Use a raised seat, support under the knees where appropriate, or a chair if needed. If pain persists, consult a qualified healthcare professional before continuing.
For beginners interested in learning the relationship between alignment, anatomy, and safe yoga practice, Veda Yoga Ashram offers a 200 Hour Yoga Teacher Training Course in Rishikesh. The course includes asana practice, alignment, anatomy, pranayama, and meditation.
Final Thoughts
Cross‑legged sitting is a part of many yoga and meditation practices, but there is no single variation that suits every body. From Sukhasana and Swastikasana to Padmasana and Agnistambhasana, each posture has requirements and levels of difficulty.
Start with a position maintain natural breathing and use props when necessary. With patience and appropriate guidance you can build a seated practice without forcing flexibility or ignoring discomfort.
For a study of traditional asana, meditation and alignment, explore the yoga programs at Veda Yoga Ashram, in Rishikesh.
 Q. Which cross-legged pose is best for beginners?
Share Post
No Comments Yet